
Driving across central Namibia requires treating distance and road surfaces with healthy respect. Between Windhoek, the clay pans of the Namib Desert, and the fog-cooled Atlantic streets of Swakopmund, tarmac gives way to hundreds of kilometers of unpaved calcrete and gravel.
According to the Namibia Tourism Board's transportation advisory, more than 80% of the national road network is unpaved, driving is on the left, and drivers should cap speeds at 80 km/h (50 mph) on gravel to prevent washouts and sudden rollovers. This 8-day itinerary balances sweeping desert scenery with achievable driving legs, mandatory permit checkpoints, and critical daylight buffers.

Essential Planning Logistics Before Departure
1. Vehicle Selection and Equipment
A high-clearance four-wheel-drive (4WD) vehicle is not an indulgence in Namibia; it is an operational safeguard. Beyond extra clearance for river crossings and rocky passes, rental 4WDs come equipped with heavier-ply all-terrain tires that resist sharp shale punctures. Ensure your rental includes two full-size spare tires, a functioning 12-volt air compressor, a mechanical jack, a tire pressure gauge, and jumper cables.
2. Entry Visas and Digital Formalities
Before flying into Hosea Kutako International Airport (WDH), check your entry status. International travelers from countries requiring visas should verify procedures through the official Ministry of Home Affairs, Immigration, Safety and Security (MHAISS) Visa on Arrival portal to secure proper pre-approvals or confirm entry documentation before boarding.
3. Fuel and Water Strategy
Never bypass an active fuel station on rural routes. Outposts like Solitaire and Sesriem can occasionally run low on fuel grades during busy peak windows. Carry at least five liters of potable drinking water per passenger per day in the vehicle cabin, alongside a basic dry-food buffer.
Day-by-Day Route Overview
| Day | Focus / Leg | Key Road Types | Estimated Drive Time | Primary Objective |
|---|---|---|---|---|
| Day 1 | Windhoek Arrival & Orientation | Paved (B6) | 45 min (Airport to City) | Vehicle handover, local SIM card, bulk water/supplies |
| Day 2 | Windhoek to Sesriem (Desert Gate) | Paved to Gravel (B1, C24, D1261/D1275, C19) | 5–6 hours (330 km) | Traversing the Great Escarpment via Remhoogte Pass |
| Day 3 | Sossusvlei, Deadvlei & Sesriem Canyon | Paved Park Corridor to Deep Sand | Full day local (120 km round-trip) | Sunrise dune ascent, clay pan exploration, midday canyon walk |
| Day 4 | Sesriem to Swakopmund via Solitaire | Desert Gravel (C19, C14) | 5–6 hours (350 km) | Tropic of Capricorn crossing, Kuiseb Canyon, Walvis Bay lagoon |
| Day 5 | Swakopmund & Sandwich Harbour Dunes | Guided Coastal Sands / Paved (B2) | Half-day tour + local town walks | Marine life encounters, German colonial history, Atlantic seafood |
| Day 6 | Welwitschia Plains & The Moon Landscape | Secondary Gravel Corridors (C28, D1991) | 3–4 hours (120 km circuit) | Hyper-arid botany, Badlands geology, MEFT permit route |
| Day 7 | Swakopmund Return to Windhoek | Paved Highway (B2, B1) | 4.5–5 hours (360 km) | Relaxed paved transit, Okahandja craft markets, farewell dinner |
| Day 8 | Windhoek Departure | Paved (B6) | 45 min to WDH Airport | Vehicle return inspection, flight check-in |
Day 1: Windhoek Arrival, 4WD Handover, and Provisions
Morning / Afternoon
Touch down at Hosea Kutako International Airport (WDH), located approximately 45 kilometers east of Windhoek. After clearing border control, collect your vehicle from the airport rental depot or take a scheduled transfer to the central rental depot in the city.
Spend at least 45 minutes on the vehicle walkaround inspection. Test the spare tire winch, verify that the jack and wheel brace match your lug nuts, confirm the compressor cord reaches all four valve stems, and inspect the tire sidewalls for hairline cracking.
Afternoon
Drive into Windhoek and visit a major commercial center (such as Maerua Mall or The Grove Mall). Stock up on two 5-liter water jugs per person, non-perishable snacks (dried biltong, nuts, crackers), a basic medical kit, headlamps, and cash (Namibian Dollars or South African Rand, which trade 1:1 and are accepted everywhere).
Evening
Check into your Windhoek guesthouse. Enjoy an early dinner at an established city venue like Joe's Beerhouse to sample regional game dishes. Rest early to prepare for an early morning drive into the desert.
Day 2: Windhoek to Sesriem via the Great Escarpment
Morning: The Descent from the Central Plateau
Depart Windhoek by 07:30 to avoid midday heat and navigate the escarpment with steady morning focus. Head south along the smooth asphalt of the B1 highway toward Rehoboth before turning west onto the C24.
Near Rehoboth, the road transitions to unpaved gravel. Pull to the shoulder, engage 4WD high range for stability, and adjust tire pressures to your rental agency's recommended unpaved setting (typically 1.8 to 2.0 bar, depending on vehicle payload).
When descending the Great Escarpment toward the desert floor, you will choose between two primary mountain passes: Spreetshoogte Pass (D1275) or Remhoogte Pass (D1261). Spreetshoogte provides dramatic vistas over the Namib plains, but features severe gradients exceeding 16% on sharp cobblestone switchbacks, where single-lane bottlenecks can occur. For self-drivers with heavy payloads or less gravel experience, the gentler grades of Remhoogte Pass offer a wider, safer descent that reduces brake overheating.
Afternoon: Solitaire Fuel Check and Arrival at Sesriem
Join the C19 south. Stop at the desert outpost of Solitaire for fuel and a brief rest. Solitaire is known for its open-air collection of abandoned vintage vehicles and rustic bakery. Top up your fuel tank regardless of the gauge reading.
Continue another 80 kilometers south on the C19 to the Sesriem settlement, the access hub for the Namib-Naukluft National Park.
Evening
Check into your accommodation. If you stay inside the outer park perimeter—such as the Namibia Wildlife Resorts (NWR) Sesriem Campsite or Sossus Dune Lodge—you gain a distinct tactical advantage: access through the inner gate toward the dunes opens one full hour before sunrise, whereas visitors staying outside the outer park boundary can only pass the outer gate at sunrise.
Take a low-key late-afternoon walk around Elim Dune, located 5 km inside the gate, to watch the dunes glow copper under the setting sun.
Day 3: Sossusvlei, Deadvlei Pan, and Sesriem Canyon
Morning: Sunrise at the Big Dunes and Deadvlei
Depart your camp or lodge in the cool dawn twilight. The 60-kilometer road between the Sesriem gate and the 2WD parking area is paved, but keep speeds to 60 km/h due to wandering oryx and springbok emerging onto the asphalt in the morning fog.
Pass Dune 45 as crowds gather, and continue straight to the end of the paved corridor at the 2WD parking area. From here, a 4-to-5-kilometer stretch of deep sand track leads to the Deadvlei and Sossusvlei trailheads. According to NWR operational updates for the Sossusvlei area, park authorities use dedicated transfer shuttles to carry visitors between the 2WD lot and the pan basins. Taking the official 4WD shuttle avoids the risk of bottoming out in loose sand, losing tire beads, or incurring costly recovery fees.
From the shuttle drop-off point, follow the marked path over the sand ridge to Deadvlei. The dry clay pan, framed by the soaring red slip-faces of Big Daddy dune, is dotted with 900-year-old skeletal camelthorn trees. Explore before 10:30, as midday sun reflects aggressively off the white clay surface.

Transit Note: Carry at least two liters of water in your personal daypack
for the 1.1-kilometer walk between the shuttle terminus and Deadvlei. Direct
sun exposure increases rapidly after 09:00.
Afternoon: Heat Retreat and Sesriem Canyon
Return to the Sesriem hub via the shuttle and paved corridor by 12:30. Take a prolonged rest through the midday heat at your camp or lodge.
Around 16:00, drive 4.5 kilometers from the park office to Sesriem Canyon. Carved by the ephemeral Tsauchab River over millions of years, this 30-meter-deep conglomerate rock gorge offers shaded footing and natural stone chambers. A 45-minute self-guided walk along the gorge floor provides a cool contrast to the morning sand.
Evening
Pay your conservation entry fees at the Sesriem administrative office before dusk to avoid queue bottlenecks the following morning. Dine under the desert night sky, which offers world-class stargazing free from light pollution.
Day 4: Sesriem to Swakopmund via Kuiseb Canyon
Morning: The Desert Crossing
Pack your vehicle early and depart north on the C19 back past Solitaire, joining the C14 heading northwest toward the coast. This is a desolate, atmospheric driving leg through the arid expanses of the Namib-Naukluft region.
As you travel north on the C14, you will cross the marked Tropic of Capricorn latitude line (23°26′12″ S). Take a quick stretch and photo before entering the twisting, dry shale corridors of the Gaub Pass and the dramatic Kuiseb Canyon. The Kuiseb River marks a striking ecological divide: south of the riverbed lie the rolling sand dunes of the Namib Sand Sea; north of it stretches flat gravel desert.
Downshift into lower gears through the canyon switchbacks to maintain control without riding your brakes. Expect corrugated gravel stretches that can induce chassis vibrations; maintain a steady 60 to 70 km/h where conditions permit to skim across light washboards, but reduce speed sharply when entering unbanked turns.
Afternoon: Walvis Bay Lagoon and Coastal Cooling
After 4 to 5 hours on remote gravel, the cold South Atlantic marine layer sweeps in. The temperature frequently drops by 15°C within a single hour as you approach the port town of Walvis Bay.
Stop at the Walvis Bay Lagoon, a recognized Ramsar wetland site, where tens of thousands of greater and lesser flamingos feed in the shallow coastal waters. Re-inflate your vehicle tires to standard tarmac pressures (2.2 to 2.4 bar) at a local fuel station.

Cover the remaining 35 kilometers north along the paved coastal B2 highway to Swakopmund, nestled between the Atlantic surf and coastal dunes.
Evening
Check into your hotel. Swakopmund's distinctive German colonial architecture and crisp sea breeze offer a stark contrast to the scorched interior desert. Book an oceanfront table at The Tug or Jetty 1905 to enjoy local linefish and Atlantic oysters.
Day 5: Coastal Adventures and Guided Sandwich Harbour
Morning: Sandwich Harbour 4WD Concession Tour
While self-driving works well on inland routes, do not attempt to self-drive into Sandwich Harbour—where the dunes of the Namib Desert drop directly into the crashing ocean waves. High tides, treacherous slip-faces, and soft beach quicksand have swallowed dozens of private 4WDs.
Instead, join an authorized local tour operator departing from Swakopmund or Walvis Bay. Professional sand-driving guides monitor daily tide charts and lower tire pressures to 0.8 bar, expertly navigating steep dune crests to reach lookouts over the marine lagoon.
Afternoon: Heritage Architecture and Museum Walks
Return to Swakopmund by early afternoon. Walk along the historic seafront promenade. Visit the iconic Swakopmund Lighthouse (commissioned in 1902), the Woermannhaus tower, and the Swakopmund Museum to learn about coastal ecology, local San rock art, and maritime history.
Evening
Spend a relaxed evening strolling the town center. Warm up from the coastal fog with hearty German-Namibian cuisine, such as pork knuckle or schnitzel, paired with locally brewed craft beer.
Day 6: The Welwitschia Drive and Moon Landscape
Morning: Securing Your MEFT Park Permit
Before venturing into the protected interior plains of the northern Namib-Naukluft section, you must obtain an official day permit. As confirmed on the Ministry of Environment, Forestry and Tourism (MEFT) FAQ Page, through-transit on public roads (such as the C14 or C28) requires no permit, but turning off onto the scenic secondary tracks of the Welwitschia Drive or Bloodkopje requires an official day pass. Pick up your permit at the MEFT regional office in Swakopmund (corner of Bismarck and Sam Nujoma Avenue).
Midday: Exploring the Badlands and Ancient Flora
Head east out of Swakopmund along the C28, branching onto the D1991 loop trail. The drive introduces two geological and biological landmarks:
- The Moon Landscape (Mondlandschaft): A series of deeply eroded, barren valleys carved into granite hills by the Swakop River over millions of years. Viewed from the high lookouts, the cracked, waterless terrain resembles an alien planetary surface.
- The Welwitschia Mirabilis Plains: Follow the numbered trail beacons to observe the ancient Welwitschia mirabilis gymnosperms, some of which are estimated to be over 1,000 years old. These unique desert dwarf trees survive entirely on coastal advection fog absorbed through two long, ribbon-like leaves that split continuously over centuries.
Conservation Rule: Stay strictly on demarcated tracks. The surrounding
gravel plains harbor delicate biological soil crusts and lichens that take
decades to recover from a single set of unauthorized tire tracks.
Evening
Return to Swakopmund via the B2 corridor. Pack your gear and complete a quick visual inspection of your vehicle's tires and fluid levels ahead of tomorrow's drive back to the central plateau.
Day 7: Swakopmund to Windhoek via the B2 Corridor
Morning: The Paved Inland Transit
Depart Swakopmund via the B2 highway heading east. Unlike your outbound journey across the gravel desert, this return leg runs almost entirely on smooth, well-engineered asphalt, providing a welcome break from gravel vibrations.
Pass the inland mining hub of Arandis and skirt the southern perimeter of the Erongo Mountain range. If you want a quick geological detour, take the D1935 turnoff toward Spitzkoppe—the soaring 1,728-meter inselberg known as the "Matterhorn of Namibia." Even a 90-minute drive around its granite boulders offers impressive photography.
Afternoon: Okahandja Woodcarvers Market
Continue east along the B2 through Karibib and Usakos. At the junction with the B1 highway in Okahandja, stop at the open-air woodcarvers' market. Local artisans carve bowls, animals, and decorative items from teak, marula, and wild olive wood. Bargaining is standard practice and directly supports regional carver cooperatives.
Cover the remaining 70 kilometers south along the dual-lane B1 highway, returning into Windhoek by late afternoon.
Evening: Final Dinner in the Capital
Check into your Windhoek hotel. Use the evening to repack luggage, separate souvenirs, and arrange early departure transfers.
Day 8: Vehicle Return and Hosea Kutako Departure
Morning
Drive to the vehicle rental depot to complete the vehicle check-in procedure. The agency will inspect the underbody for rock damage, check tire treads, and assess the windshield for gravel chips. Retain copies of your signed handover documents.
Afternoon
Take the scheduled 45-minute transfer back to Hosea Kutako International Airport (WDH). Arrive at least three hours before international flights to navigate check-in, baggage processing, and immigration checks comfortably.
Organizing Your Namibian Road Trip Logistics
Self-driving Namibia requires coordinating vehicle equipment dates, national park permits, and isolated lodge reservations across hundreds of kilometers of unpaved roads. Missing a gate cut-off or mixing up booking vouchers in areas without cellular reception can quickly disrupt an entire route.
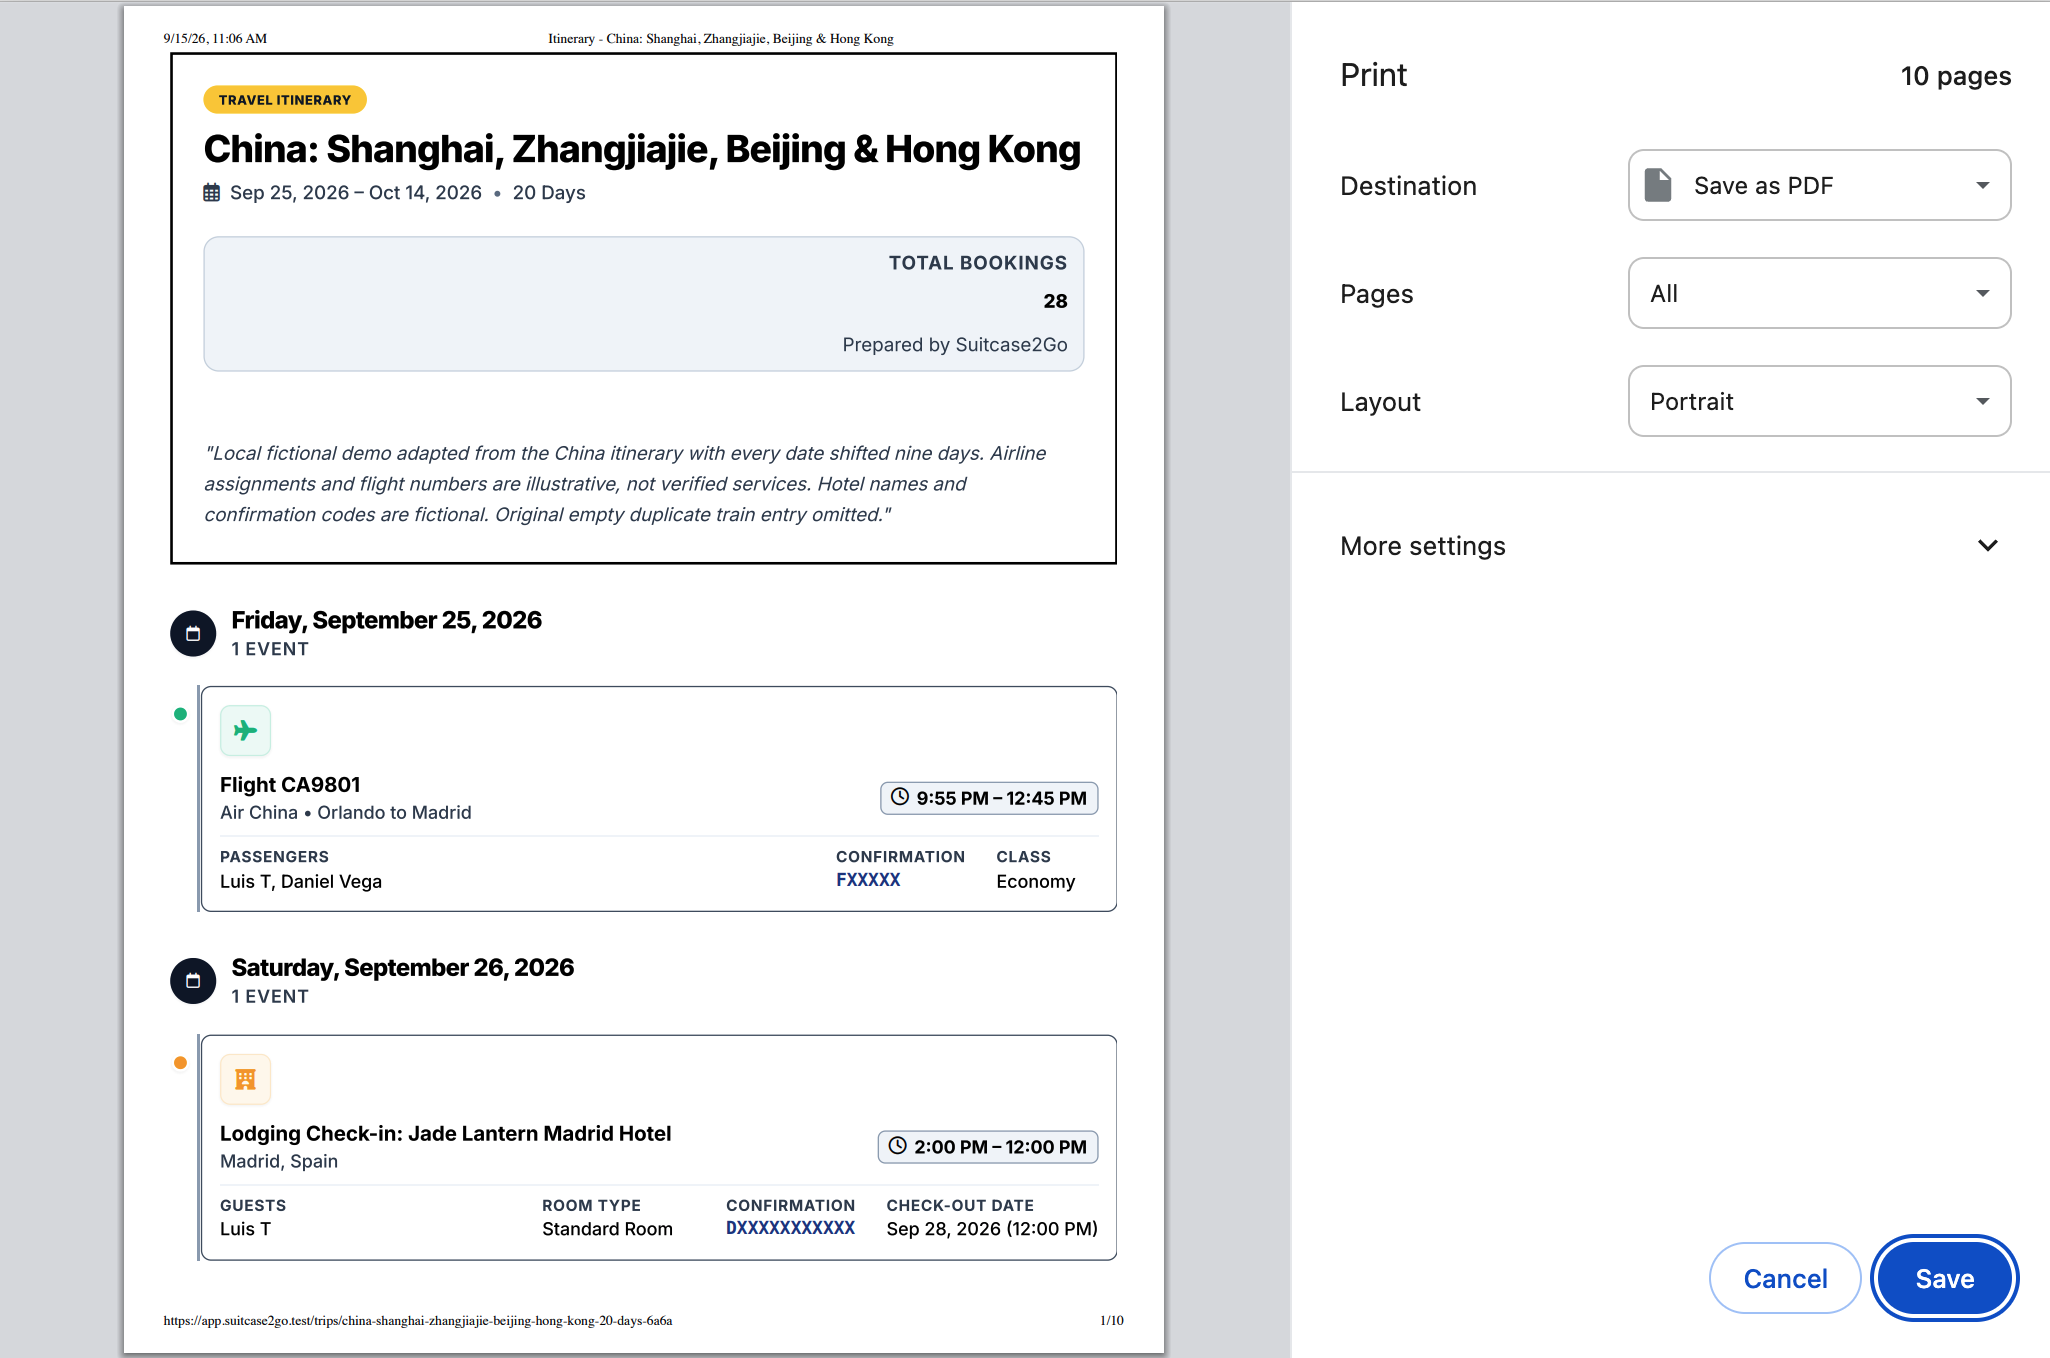
With Suitcase2Go, you can keep all your accommodation vouchers, 4WD rental contracts, and daily driving buffers neatly structured in one centralized travel timeline. Start planning your self-drive itinerary with Suitcase2Go before setting rubber to the gravel.